Unleashing ZBrush: Tips and Tricks for 3D Modeling
3D modeling has never been more accessible, thanks to tools like ZBrush that bring the traditional sculpting process into the digital realm. Widely lauded for its intricate detailing and vast toolset, ZBrush does have a steep learning curve. Here, we are unleashing some handy ZBrush tips and tricks to enhance your 3D modeling skills and streamline your workflow.

1. Master The Basics
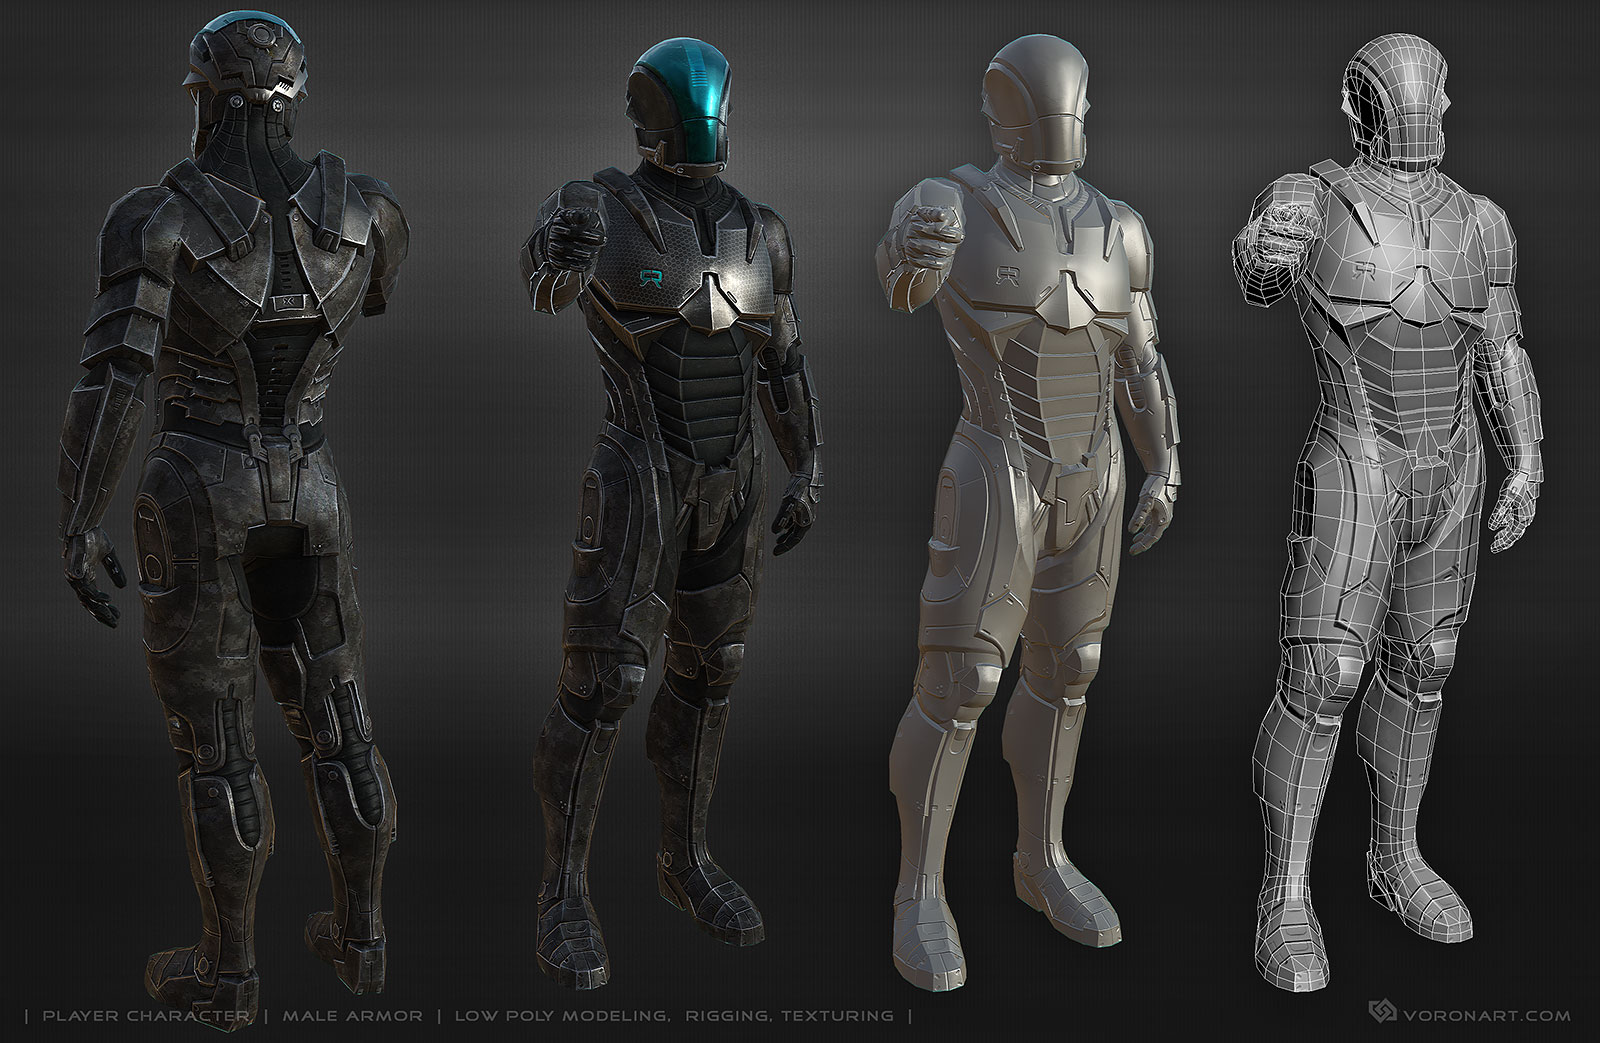
Before delving into advanced features, it’s crucial to get a robust understanding of the basics like the ZBrush interface, navigation, and key tools such as ZSpheres and DynaMesh. Use the LightBox to access the Project tab and start with simple models; understand the brush system and customize your UI to meet your needs.
2. Use DynaMesh for Rough Sketching
DynaMesh is a revolutionary feature for digital clay sculpting. It re-creates your model’s geometry based on topology, making it ideal for rough sketching. Start with a low-resolution mesh when creating your model. It’s simpler to manipulate, and it can be easily updated to add more complex details ahead.
3. Leverage ZSpheres for Quick Outlines
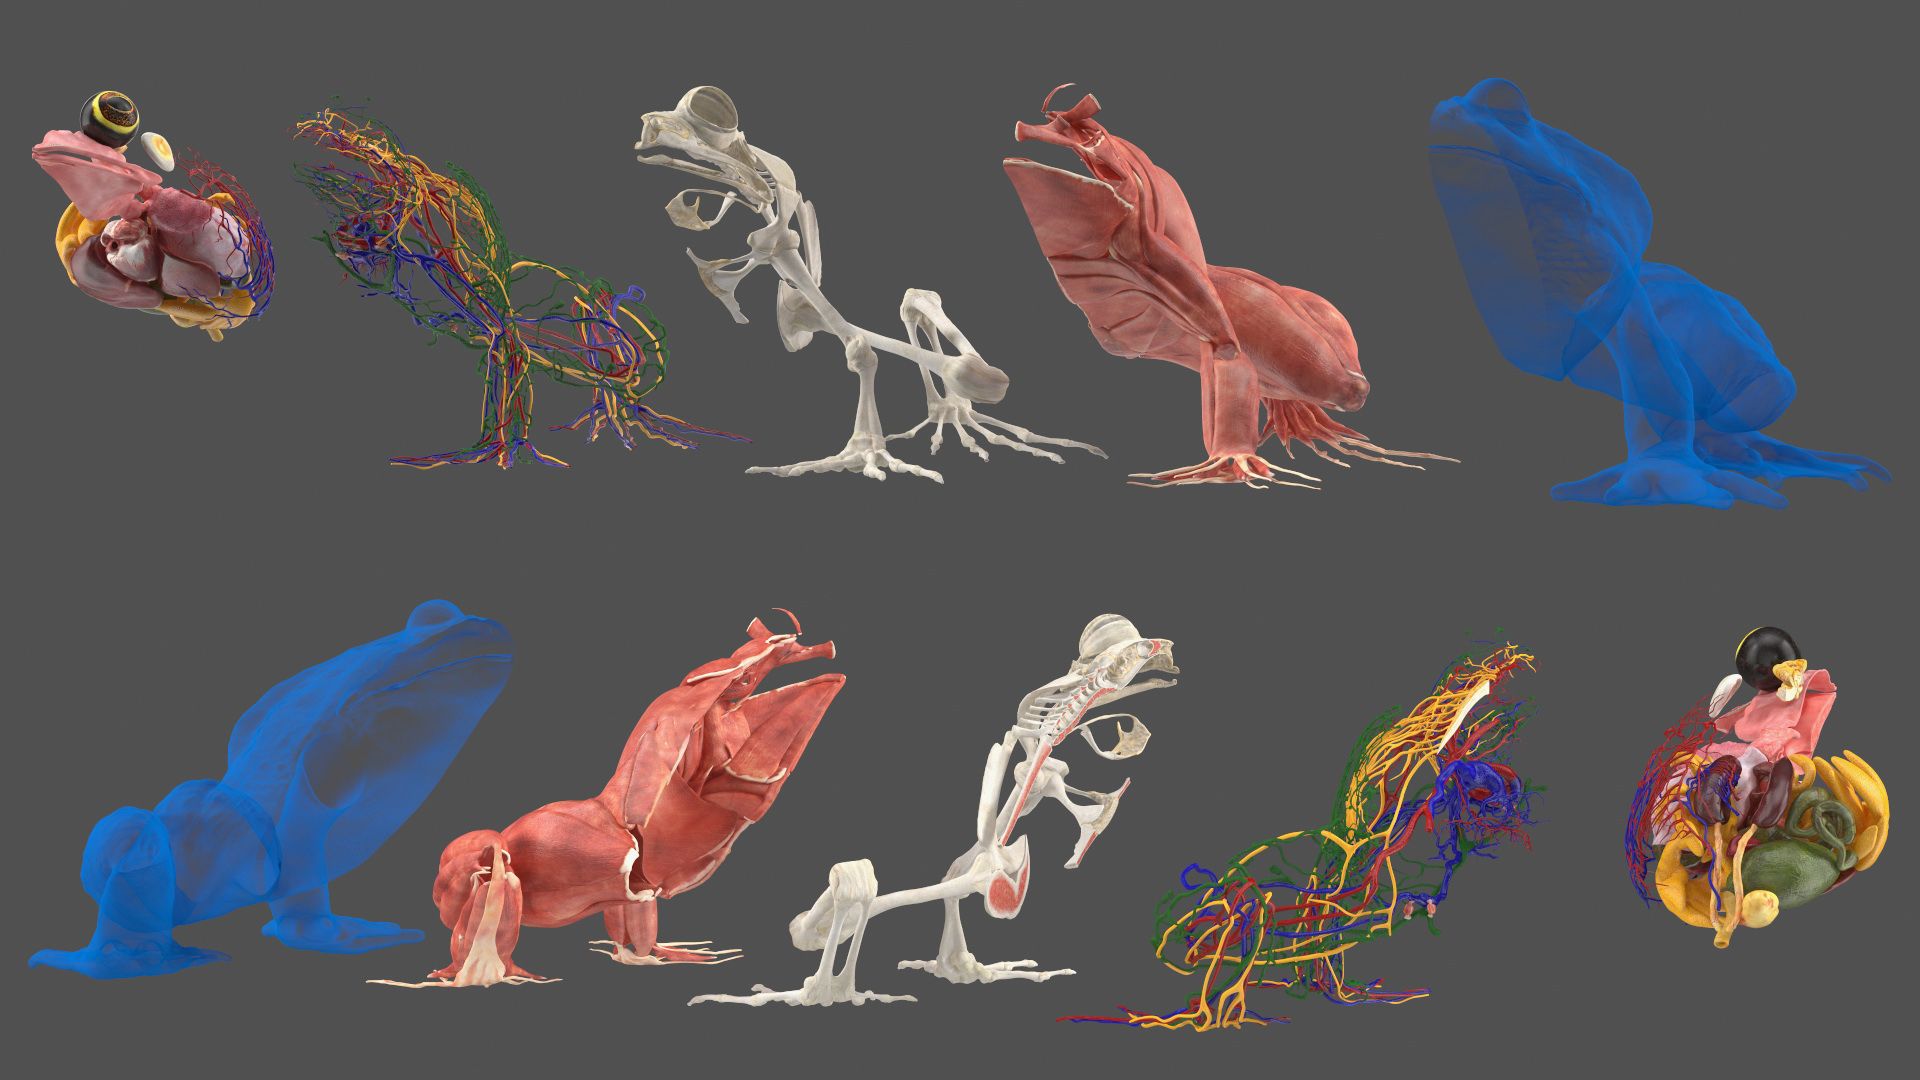
ZSpheres allow creation of base mesh easily and quickly. You can add, move, or delete ZSpheres to define the core structure of your model. This approach is excellent for organic shapes and creature modeling.
4. Polygroup Your Meshes
Polygrouping or color-coding different parts of your mesh enhances speed and efficiency when sculpting intricate models. You can isolate sections for focused detailing without affecting the entire model.
5. Save Frequently using QuickSave
ZBrush is a heavy-duty software that requires extensive memory and CPU power. Unexpected crashes can occur, especially when handling complex designs. Use QuickSave regularly to guard against any data loss. You can find these files later in the LightBox under the QuickSave tab.
6. See the Big Picture with Solo Mode
Work smarter with the ‘Solo Mode’ feature. When dealing with multiple sub-tools, avoid unnecessary clutter by enabling ‘Solo Mode’ to concentrate on one sub-tool at a time.
7. Experiment with Brushes
ZBrush offers a massive range of brushes with unique effects. Spend time experimenting with different brushes and their modifiers to yield different outcomes. The ‘Dam Standard’, ‘Clay Build Up’, and ‘Move’ brushes are some essential tools worth mastering.
8. Utilize Alphas for Details
Alphas in ZBrush are grayscale images used to create fine details like wrinkles, scales, or scars. You can use ZBrush’s alpha library, create your own, or download from the internet.
9. Use Masks and PolyPaint
Using masks can protect specific areas of your model while you work on the rest. Another colorful feature, PolyPaint, lets you paint your models without requiring texture maps.
10. Take Advantage of ZBrush’s Extensive Learning Resources
Lastly, make good use of learning resources, like tutorials, blogs, and community forums offered by Pixologic, the maker of ZBrush, and the larger ZBrush community. They provide invaluable help to both newcomer and seasoned ZBrush artists.
Mastering ZBrush is a journey that involves patience and practice. But with these tips up your sleeve, the road to creating stunning 3D models will be much smoother. Remember, the key to extraordinary 3D artwork in ZBrush is the perfect blend of creativity, technical skills, and an in-depth understanding of this powerful tool. Enjoy your ZBrush journey!